
You will need:
- Soy candle wax ( or any candle wax of your choice)
- Candle wick
-Mason jar
-A hot glue gun
-A piece of card stock
-A double boiler(a saucepan with a glass bowl over the lid )
-A food thermometer
-Oven gloves or mits
-Fragrance oil
-Colorants (optional)
-A container with a spout
Before you began, make sure you have the appropriate type ans size wick for the size and kind of candle your makin. In most craft stores where you can find these supplies, recommendations will be made on the packaging as to what type and size wick you should use depending on your project (and I promise it’s a lot simpler than it sounds!)
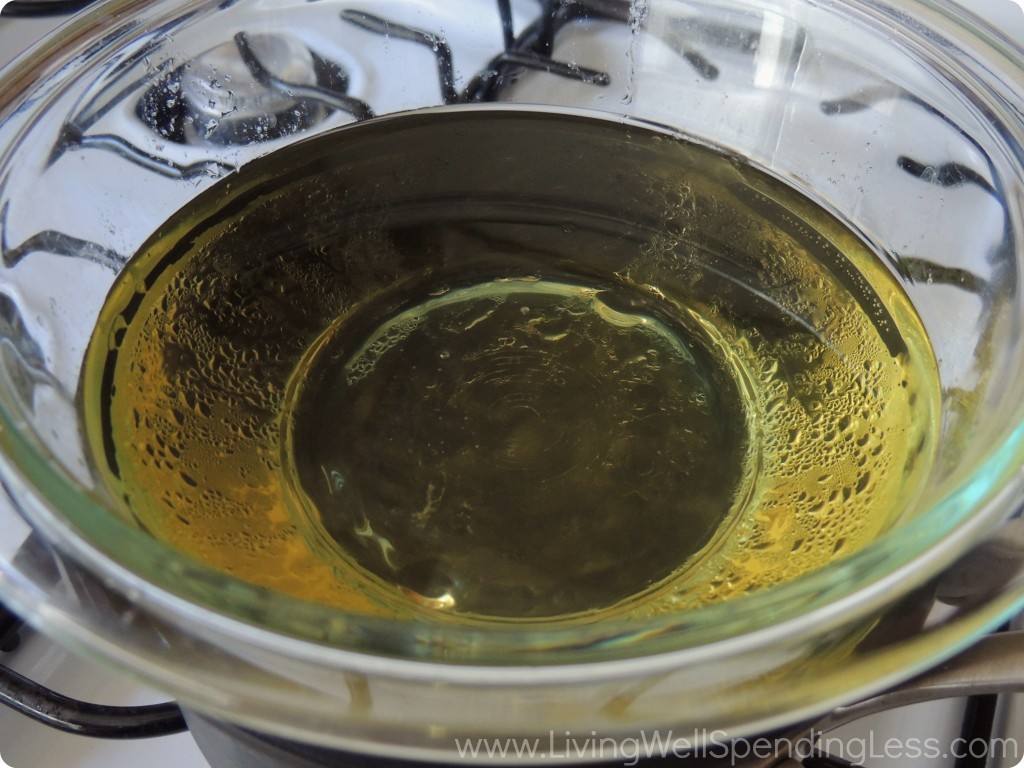
Step 1: Begin melting your wax. For this project I used soy wax that I melted in a make-shift double boiler made from a saucepan and a pyrex bowl sitting over it. I planned to fill one pint-sized mason jar, so I melted approximately 14 ounces of soy wax (I purchased a 1lb container of soy wax and had very little left over). I melted the wax on low to medium-low heat. Never leave melting wax unattended!
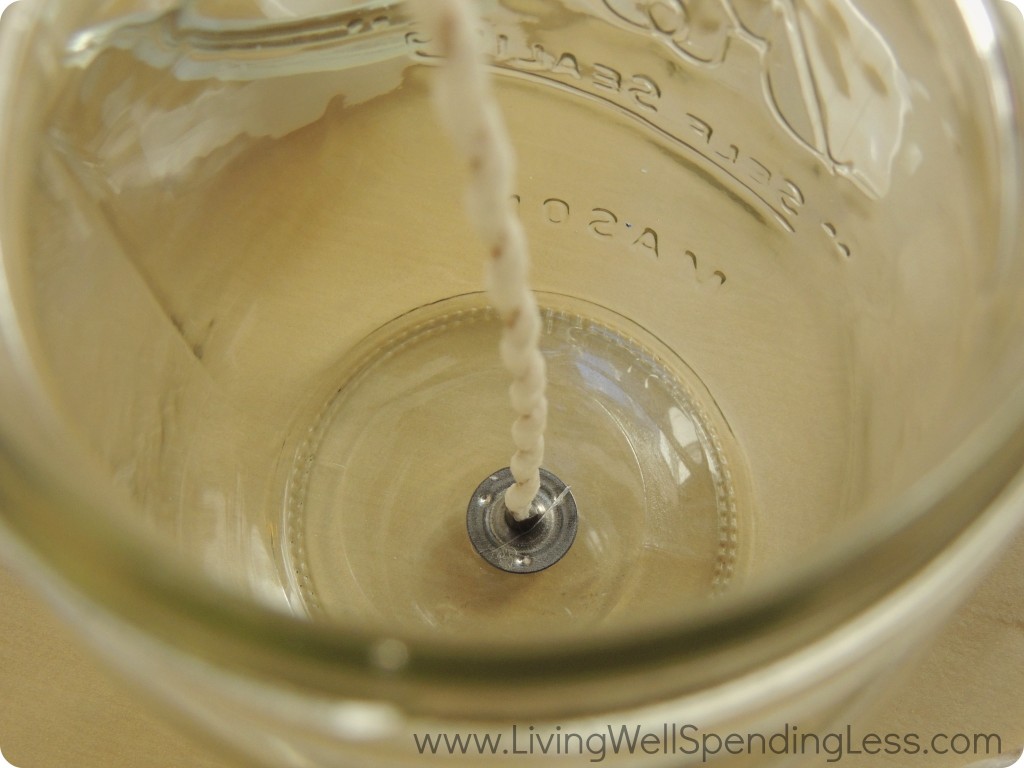
Step 2: While this is melting (and while you’re keeping an eye on your wax), secure your wick to the bottom of your mason jar. Apply a bit of hot glue to the center of your jar and hold it in place until it dries.

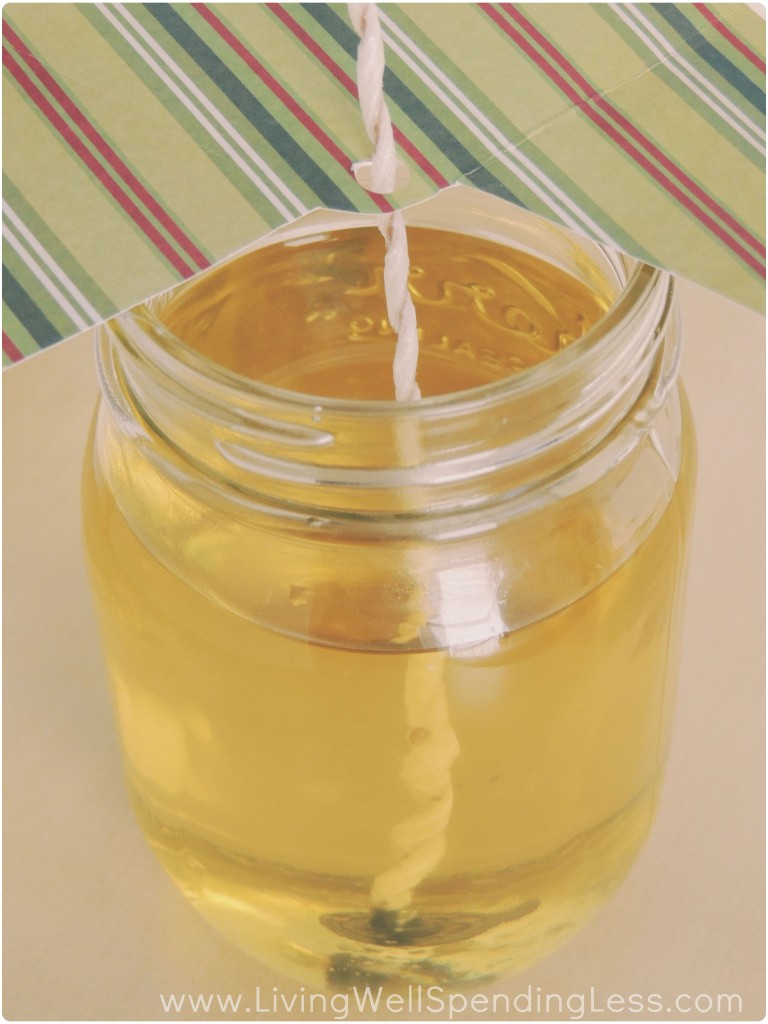
Step 3: Arrange your wick such that it stands upright. My wick was a bit stiff and stood upright reasonably well on its own, but I didn’t want to risk it falling over when it was sitting in a jar of hot wax. I ended up taking a piece of leftover thick card stock, cutting it into a circle, hole-punching the center, and then cutting away a section of the circle so I would have room to pour my hot wax.
I then put a dab of hot glue on the rim of my mason jar and glued the card stock down so it would not get bumped off accidentally. (Fortunately, dried hot glue applied to glass is relatively easy to peel off when you’re done!) This is just one of several ways you could balance your wick—there are no rules, as long as your wick is standing up straight!
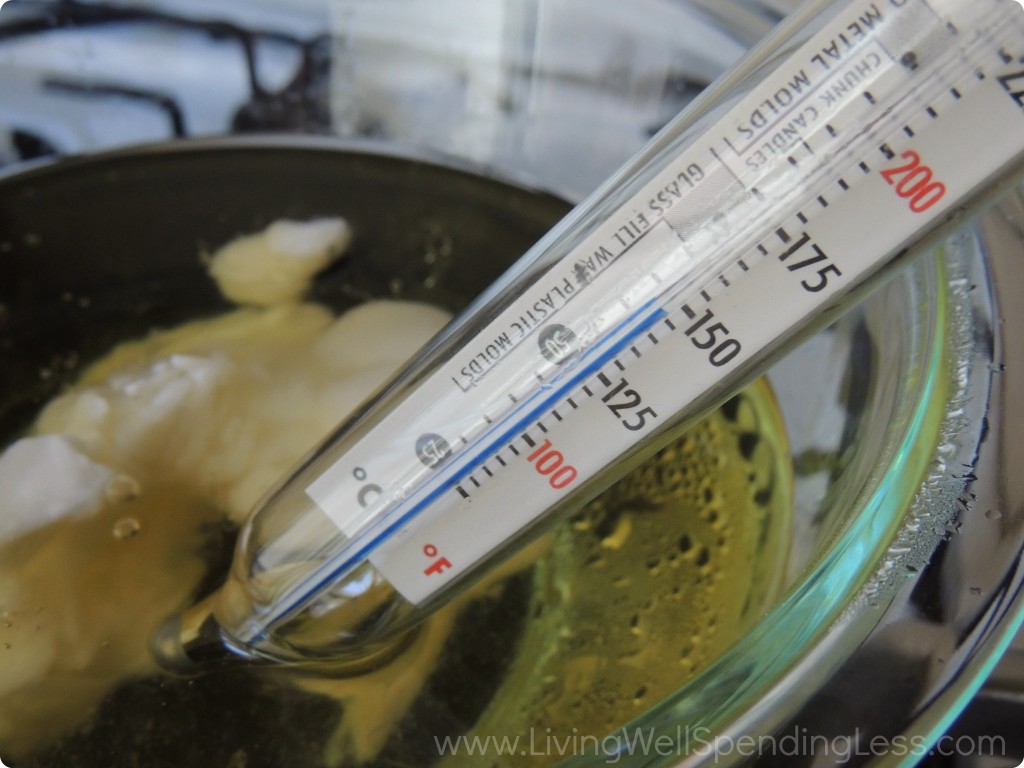
Step 4: When your wax is melted, allow it to cool a bit before adding in your colorants (if desired) and fragrances. Wax purchased in craft stores will typically come with a guide that recommends an ideal temperature for adding fragrances and colorants to your wax depending on the type of wax you’re using. For my wax, it was recommended to add in fragrance oil when the wax had reached between 120 and 140 degrees Fahrenheit. (This is because some fragrances can lose their scent when added to high-temperature liquids.)
To speed up the cooling process, I poured my hot wax into a room-temperature pyrex measuring cup with a spout.
If you purchased a fragrance oil or colorants designed for candle making, it should come with guidelines as to how much of each to use given the volume of wax you are working with. I ended up using approximately one ounce of a Milk and Honey fragrance oil from brambleberry.com. Bramble Berry’s website also offers a guide that suggests how much of their oils to use in a given project.
Then your done . Just tie and cute ribbon around the outside , add a label and its sooo adorable.
These photos were not taken my me and are not sponsored.
Girl online , Going offline
No comments:
Post a Comment